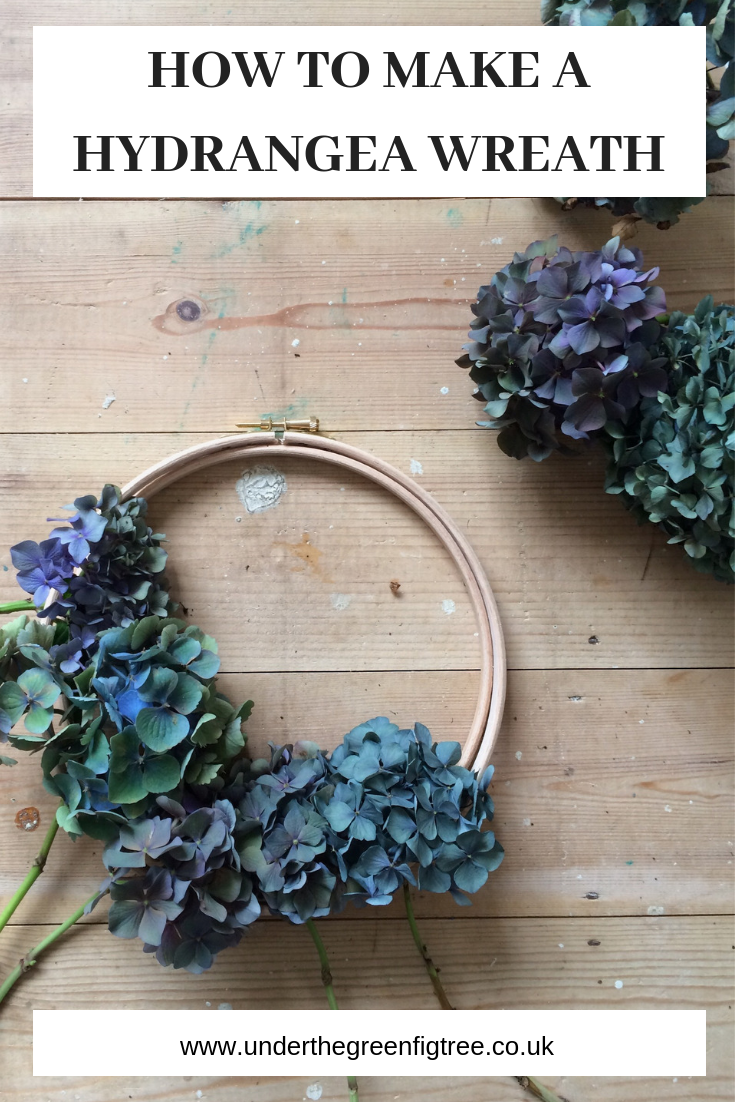
This morning I made a beautiful hydrangea wreath with an embroidery hoop. It only took ten minutes.
The last-minute project was born out of a really, really crappy morning. My six-year-old son is really anxious, depressed and generally all-round sad about moving to a new town and a new school. The school run was particularly awful today. And I drove home crying.
I can’t work when I feel like this. There’s just no way to snap out of the worry and the sadness. So I tried to do some housework, thinking a bit of vigorous (and much-needed) hoovering might clear my head. But it didn’t, and somehow I ended up making a hydrangea wreath instead.
However, I do actually feel calmer and clear-headed again. And the pretty wreath is an added bonus.
Anyway, that’s the back story. I hope it reassures you that you don’t have to be super-crafty, or have loads of time or flower-arranging paraphernalia to make something that makes your heart feel a little happier. In fact this tutorial seems to work particularly well if you’re a stressed, over-worked mum who happens to have a couple of overgrown hydrangeas in the front garden and a lapsed embroidery habit.
OK, I’ll stop waffling and get down to the how-to bit.
1. CUT YOUR HYDRANGEAS
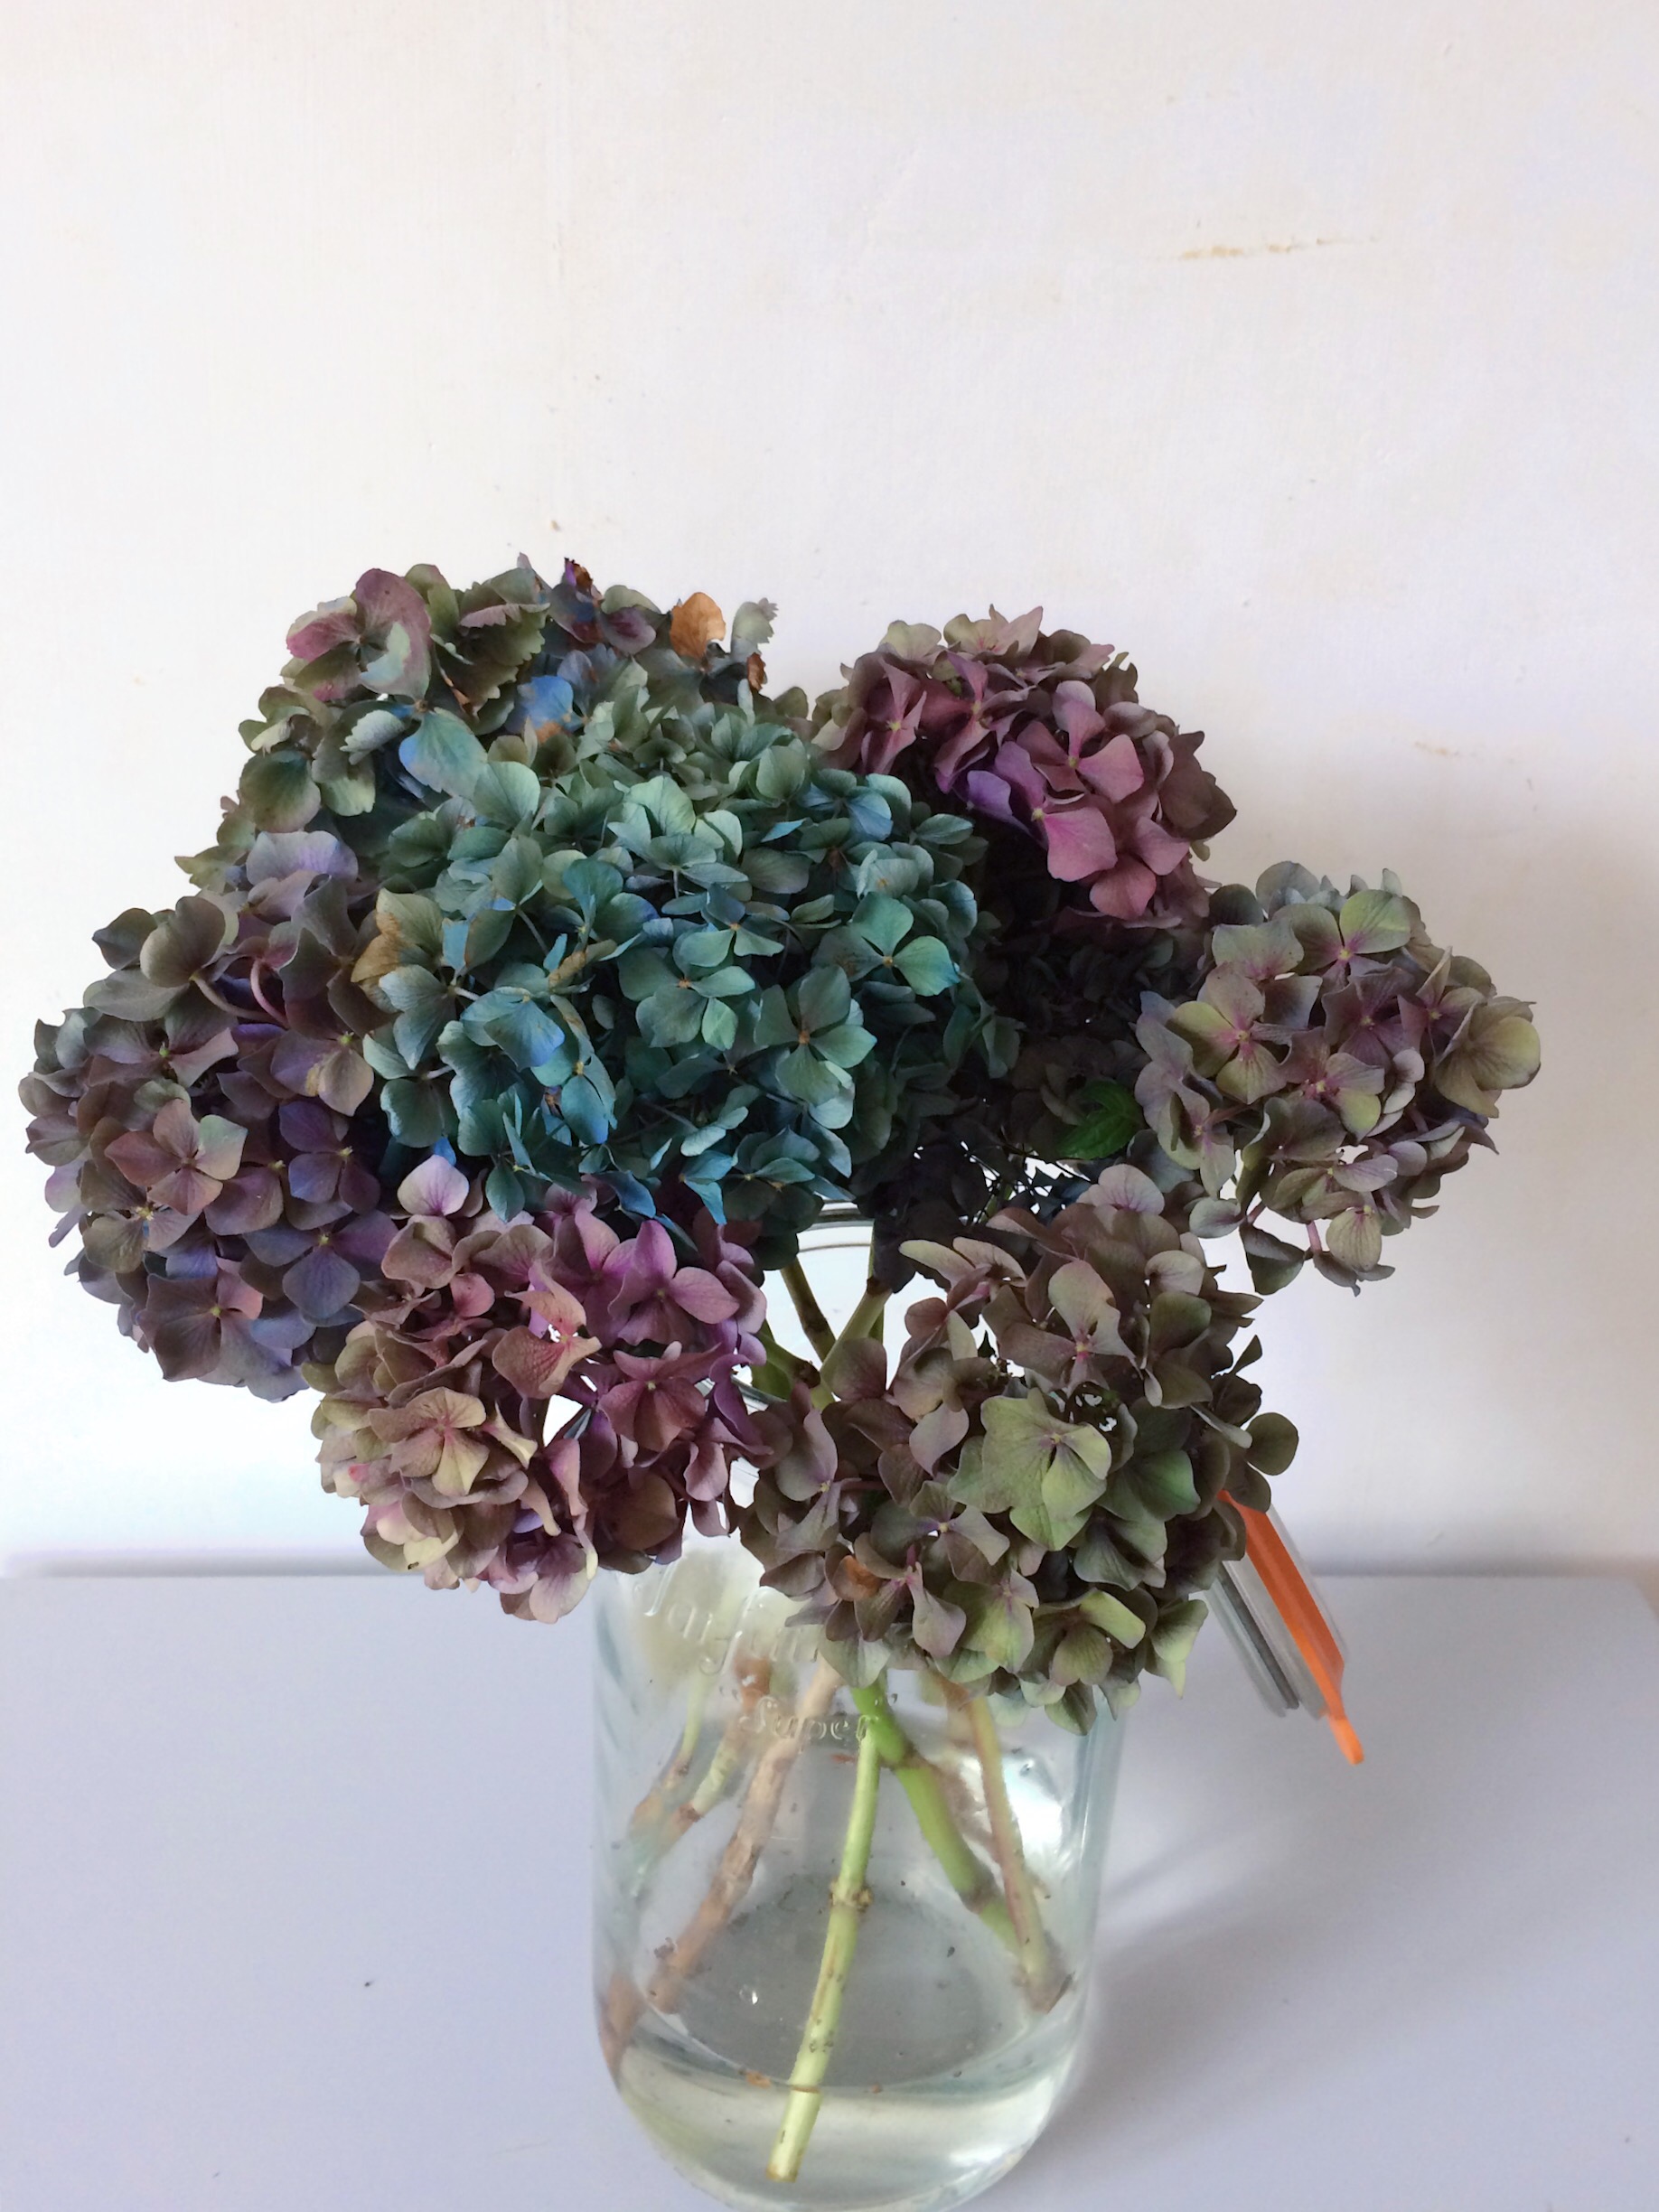
Disclaimer: I cut these babies a few weeks ago when I could see their blueness fading to some utterly beautiful shades of teal, lilac and green. I read online that the best way to lock in their colour is to slow dry them. It’s a bit counter-intuitive, but basically you need to stick them in a vase of water and leave them to do their thing. Once they’ve sucked up all the water they should last indefinitely.
Well, you can see from this picture that there’s still plenty of water in the jar. And I haven’t topped it up. Maybe the shape of the jar is to blame? Anyway, the flowers dried out a little but not much. And I think that’s a good thing. The petals didn’t all crumble to dust when I started faffing with them. Plus the stems were still nice and flexible when I needed to squish them between the embroidery hoop (see step 4).
So is the slow-drying stage even necessary? Not sure to be honest. I’ve got some other hydrangeas that have sucked up all their water and are properly dried. The petals are really papery and fragile and I don’t think they’d survive wreath making.
When I do this again, I’ll just go straight from cutting to making. And I suggest you do the same.
2. CHOOSE YOUR BLOOMS
Find the best flowers to fit your desired shape. At first, I picked out the flowers that had faded to the prettiest colours. Unfortunately, when it came to arranging them in the hoop, I had to pull out the really large, round blooms as they overpowered the circle.
In the end, I settled for the smaller clusters of flowers that sat a little lower on the hoop.
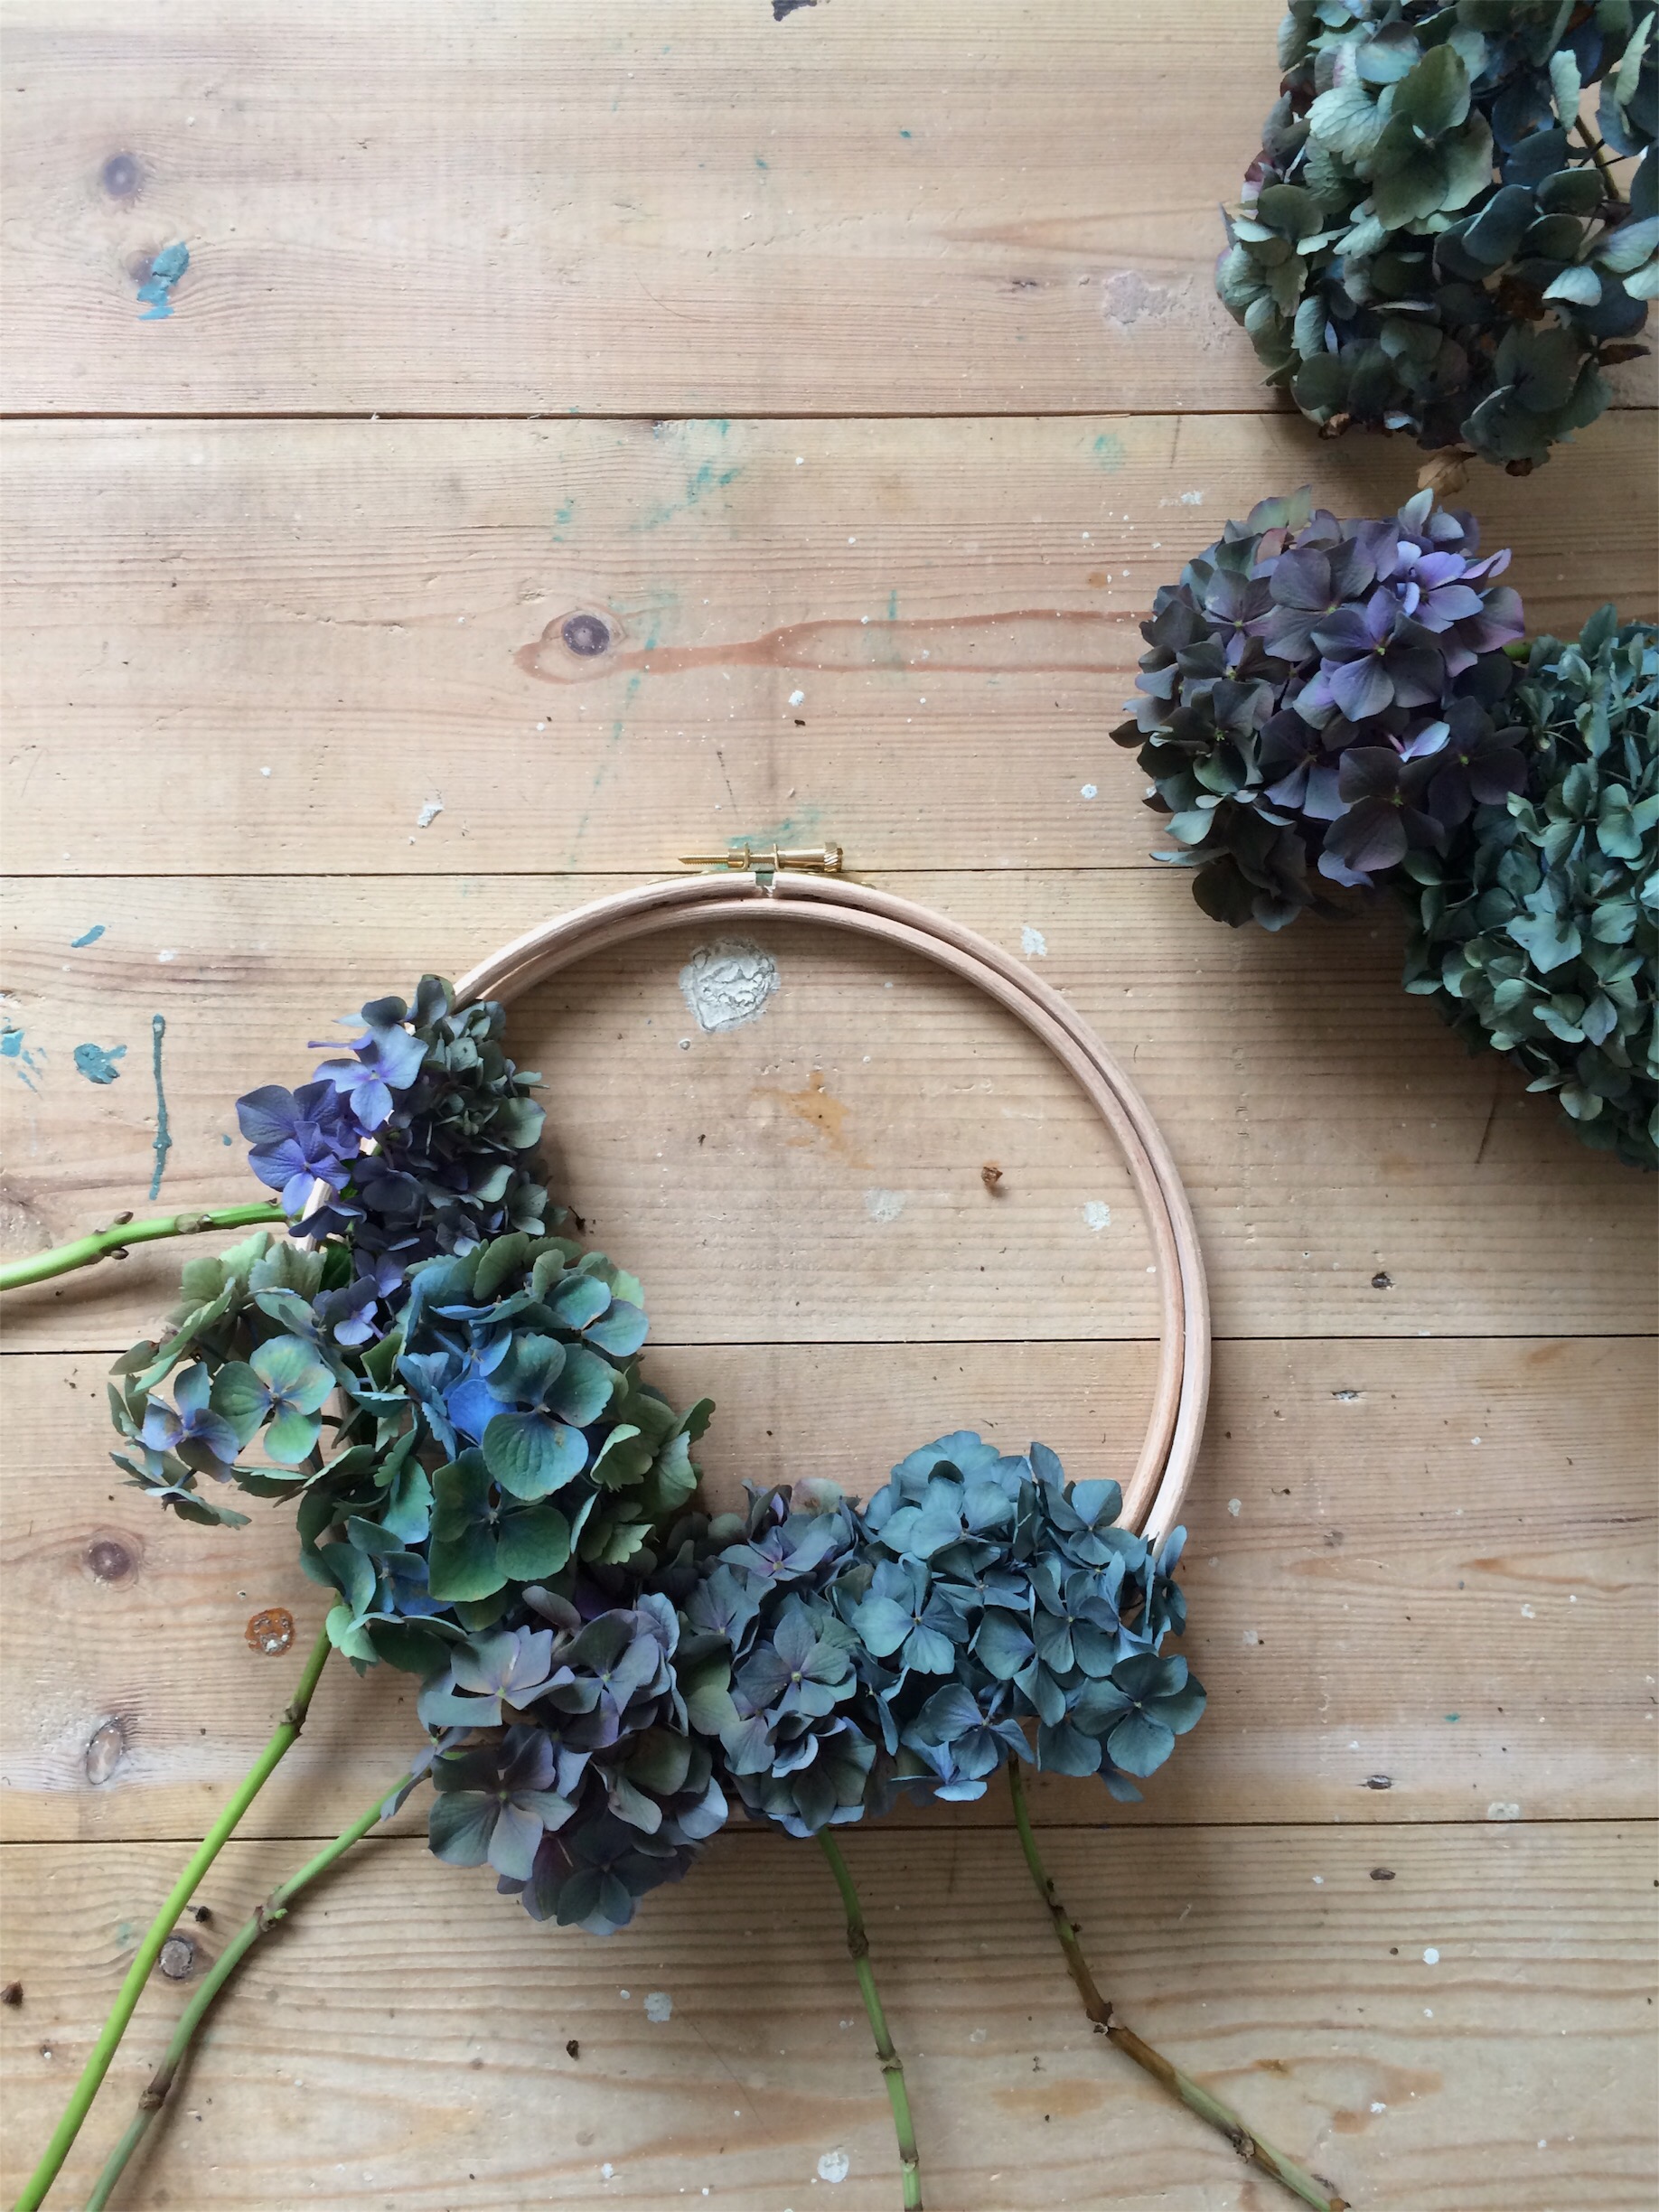
3. ARRANGE THE FLOWERS IN A SEMI CIRCLE AROUND AN EMBROIDERY HOOP
I fervently pursued an interest in embroidery earlier this year and had a medium-sized hoop left over. This made the perfect (easy, cheap and ready-made) hoop to fashion my wreath around. A friend suggested making a wreath out of an old coat hanger and that could be a great alternative. But the embroidery hoop was so easy to use, as the two rings work as a clamp and mean you don’t need any twine or string to hold the flowers in place = ideal.
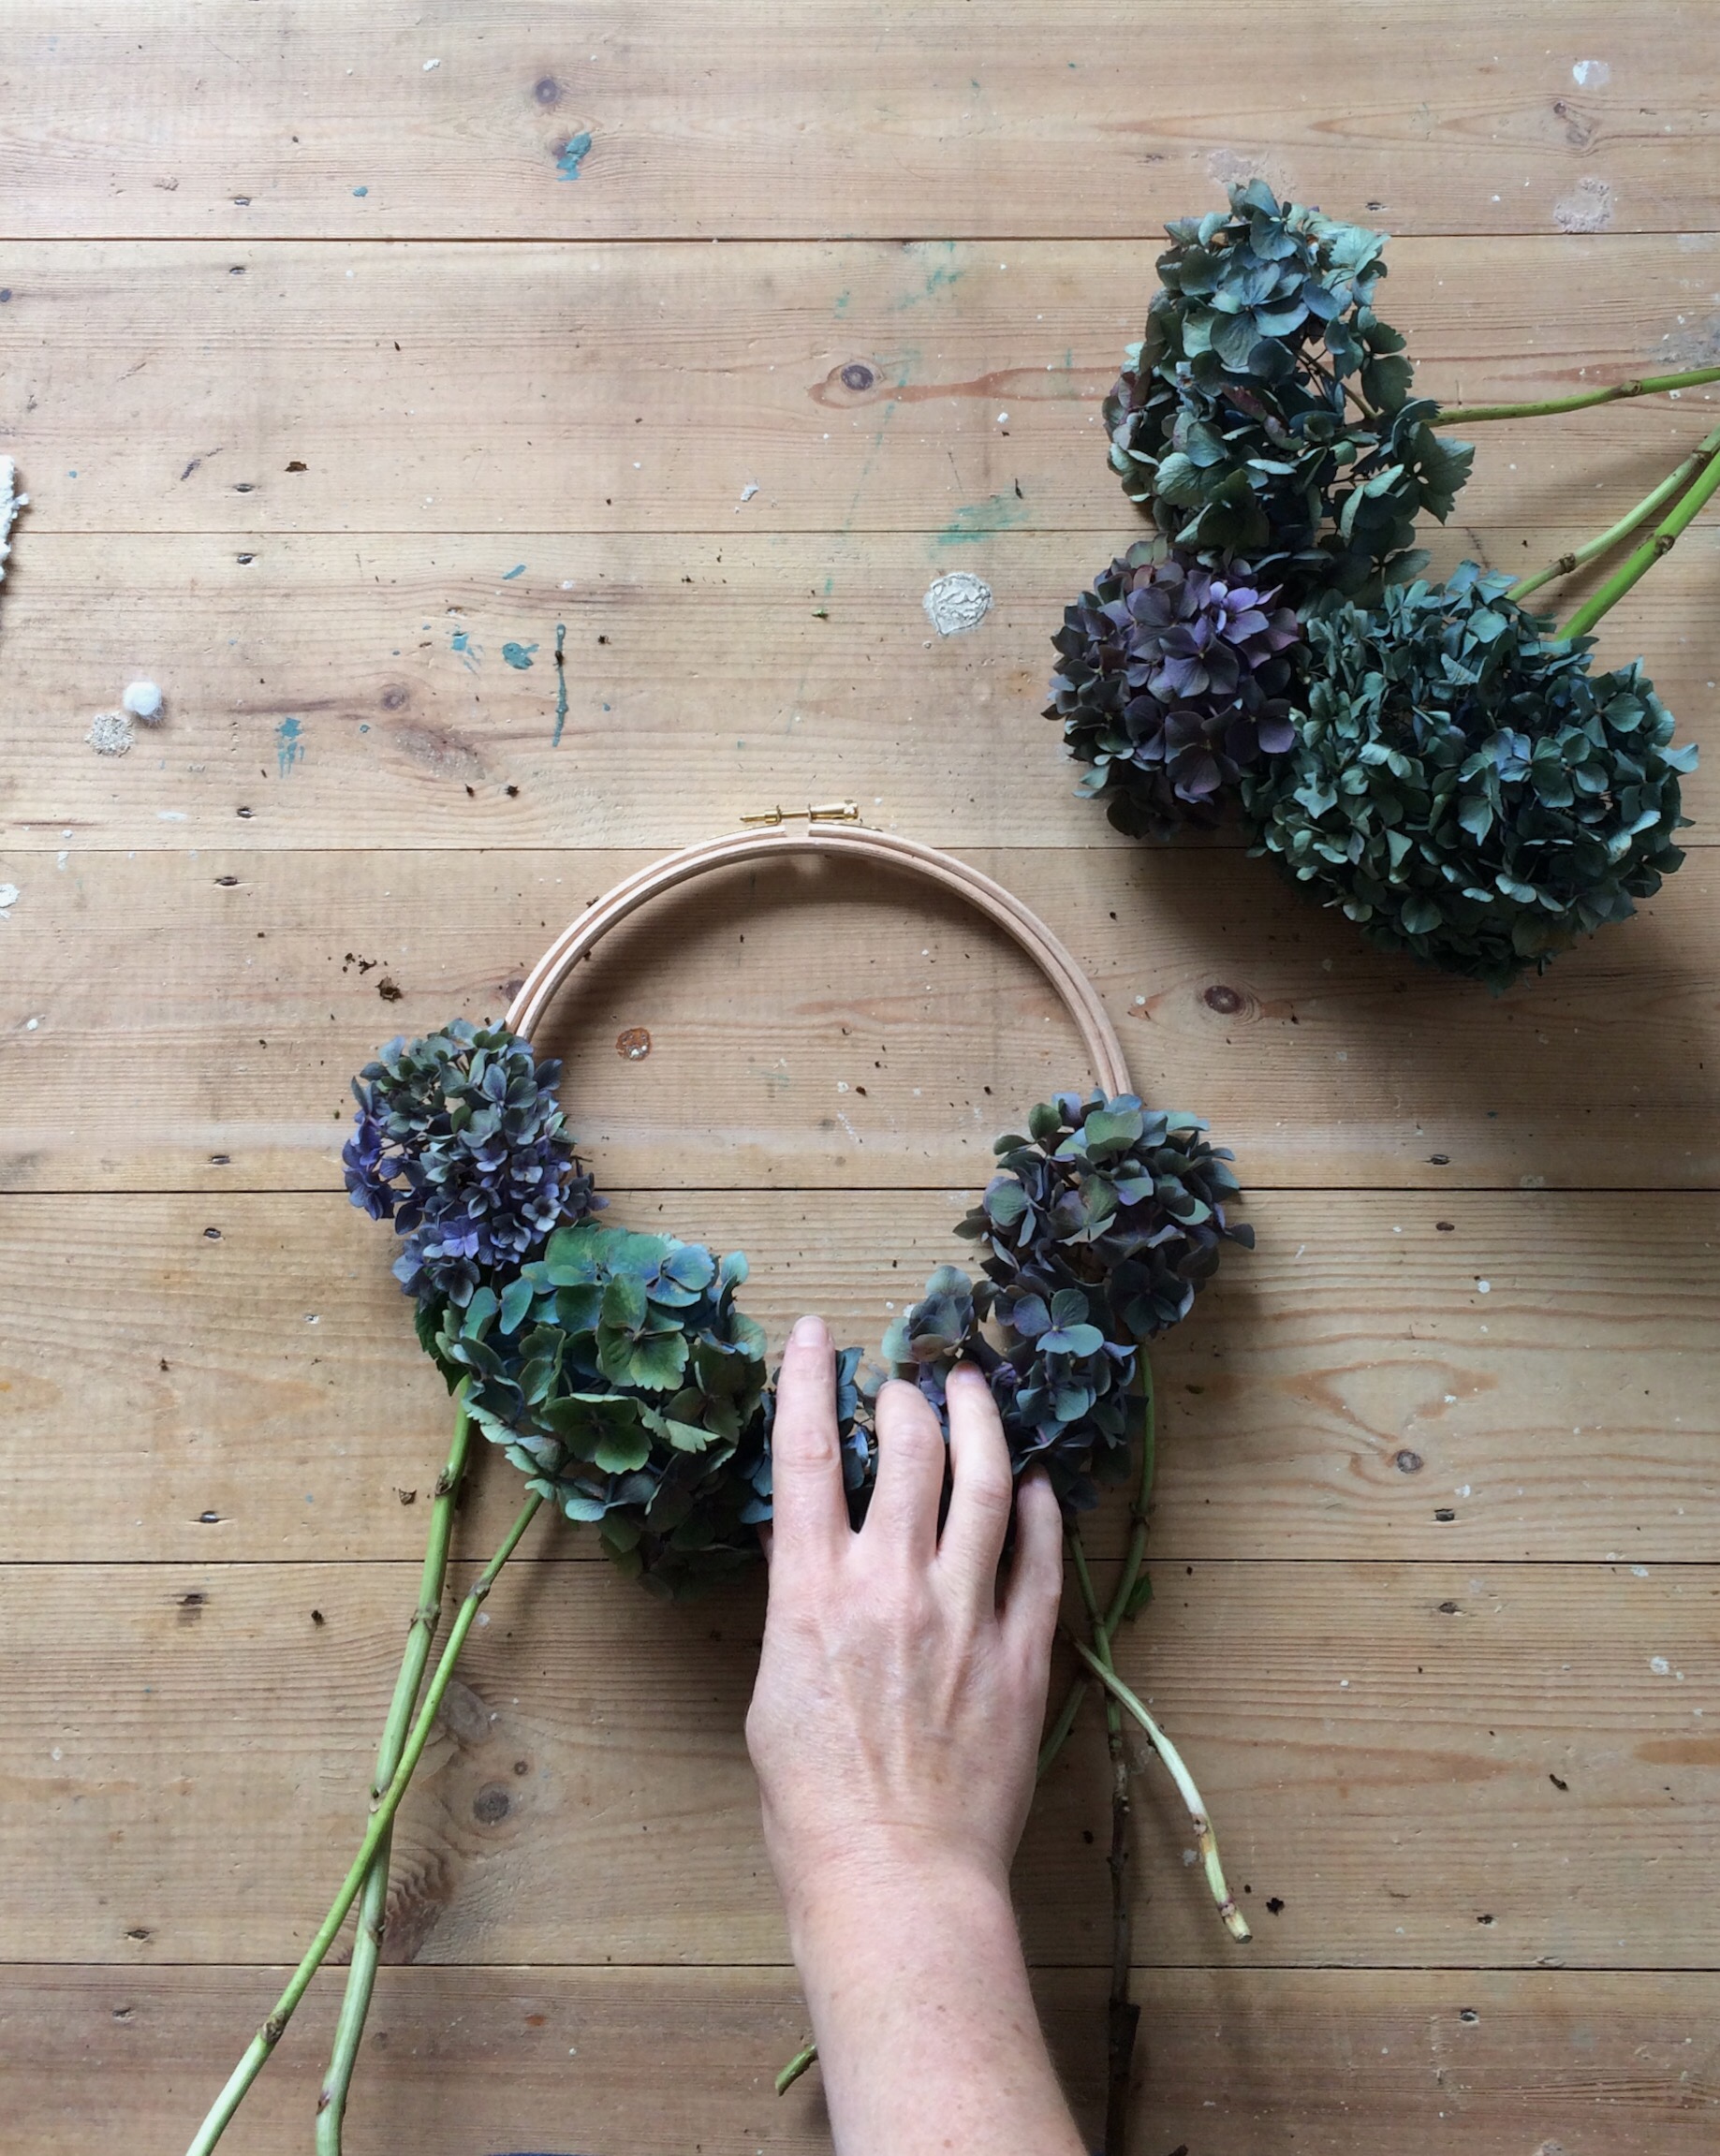
Open the top ring of your hoop. Tuck the flowers between the two rings of the embroidery hoop and faff until you get the right shape. I had wanted to go off-centre but all my attempts looked wrong – I created inept wonkiness rather than jaunty asymmetry. If you’re cleverer than me you might want to try going off-centre.
4. TIGHTEN THE EMBROIDERY HOOP TO CLAMP THE HYDRANGEAS IN PLACE

Screw the top ring of your embroidery hoop tight to clamp the flowers in place. They’ll start to wibble around at this point and you might need to loosen, rearrange and tighten again until you’ve got the shape you want. This sounds faffier than it actually was. It took me a couple of tweaks to get the right shape.
Once you’re happy, tighten up the screw until it won’t budge anymore.
5. TRIM THE STEMS
Now you’re ready to trim the stems so that they can’t be seen from the front. I was quite cautious with this part as I didn’t want to compromise the grip of the embroidery hoop. So there are some short stubby stalk ends sticking out of the back of my wreath. But I’m ok with that. Only the wall and I know about them 😉
6. HANG YOUR WREATH

Now it’s time to hang your wreath. I thought I’d be able to just hang it straight from the screw on the hoop, but it didn’t sit well against the wall. So I needed to find something to make a hanging loop with.
If you’re more prepared than me you could use some twine or pretty ribbon to hang it up. Clearly my attempt was a last-minute job so I ended up using some silver embroidery thread. It worked.
AND THAT’S THAT
There you have it: one beautiful hydrangea wreath and one, hopefully, more chilled-out soul.
Happy making
x
Leave a Reply